Professional Help
Easy tips for better images from Wakatobi Resort’s photo pro
Wakatobi Resort is a great place to take pictures, or make movies –especially below the surface. Clear water and abundant sunshine allow for stunning wide-angle views of brilliant colorful reefs. Move in for a close up and there are literally thousands of subjects to choose from, including some of the most iconic and unusual creatures in the ocean. It’s not surprising that the resort is a favorite with professional photographers and videographers, and magazine pages and screens around the world are filled with intriguing images captured in our waters. But you don’t have to be a pro to create great photos or footage from your trip.
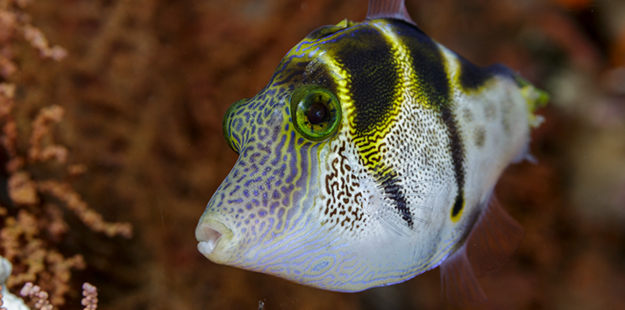
To make your images more captivating Marco suggests to create a personal connection, such as the eye to eye perspective of this sharpnose pufferfish. Photo by Marco Fierli, marcof8.com
As many guests at Wakatobi Resort have discovered, the combination of stunning underwater landscapes and abundant marine life can bring out the best in every shooter, from notice to expert. This is especially true for those who work with our resident photo and video pro, Marco Fierli. Over the years, Marco has helped hundreds of shooters hone their skills and fill memory cards loaded with great photos and footage. We’ve asked him to share some quick tips that can help anyone improve their underwater imaging game.
Marco’s easy tips for better photos
Moving in closer to divers or reef scenes can make for a clearer image, as there is less water between the lens and subject. “Fill the frame,” says Marco. Photo by Marco Fierli, marcof8.com
Fill the frame. Don’t be afraid to move in closer. Having a subject that occupies ¾ of the photographic surface will force the viewer to concentrate on one thing only. When shooting larger objects such as a diver or active reef scene, moving closer may also make for a clearer image, as there is less water between lens and subject.
Start without the flash. When taking wide-angle photos such as reef scenes, try a few shots without the flash to make sure you have set the exposure to capture the available light as you intended. Once that is locked in, you can fill in the details and bring out the colors with strobes.
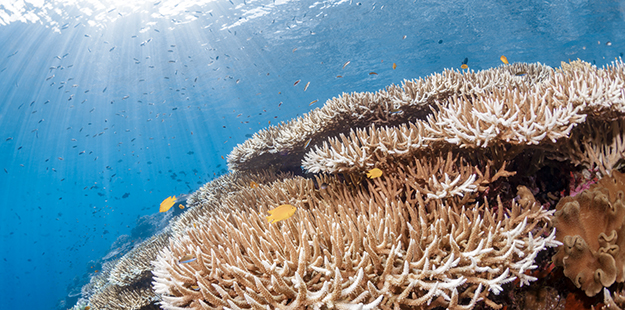
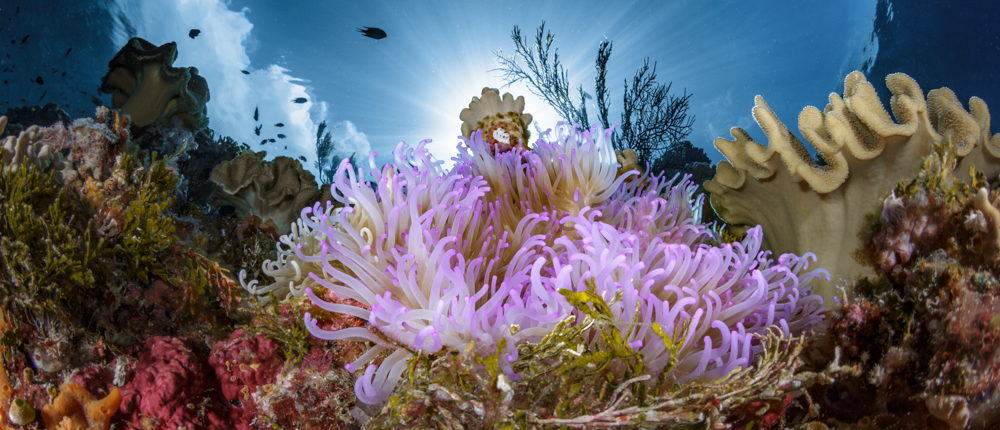
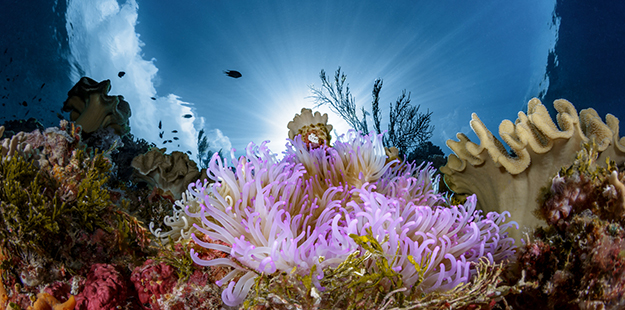
Adding the available light gives this image a sense of serenity, drawing the eye toward the sun’s rays, while the strobes gently enhance the staghorn coral for a natural look. Photo by Marco Fierli, marcof8.com
Light from above. When shooting a medium to wide scene with strobes, remember that the natural light comes from above. If your strobes are filling in with light from below, the image will look unnatural. Position your strobes to have more light coming from above.
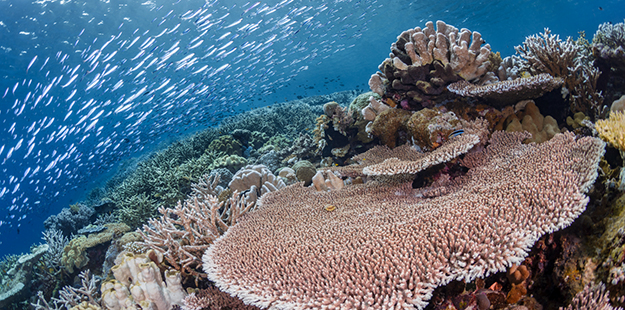
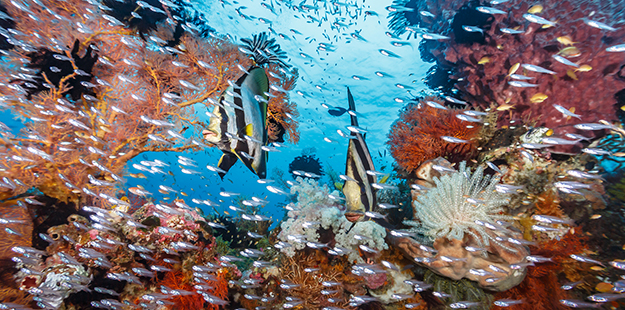
Here the schooling fish in the background add a sense of energy without distracting, rather complimenting the beauty of the tabletop coral in the foreground. Photo by Marco Fierli, marcof8.com
Mind the backgrounds. Pay attention to what lies behind. The right background can help the subject to stand out, and add interest to the image. If possible, choose a background that provides contrasting colors, and is free of complex shapes or patterns that could be confusing or distracting to the eye.
Shooting upwards, in this case almost straight up, captures both the sun and the clouds in the sky overhead, while the strobes were used to light the part of the reef closest to you. Photo by Marco Fierli, marcof8.com
Include the surface. When shooting wide-angle scenes, adding the surface into the frame will enhance the sense of being underwater. When shooting upward, remember to orient your strobes slightly heads down.

Shooting from the same plane of view as your subject results in a more interesting perspective and a more captivating image. Photo by Marco Fierli, marcof8.com
Get level with your subjects. Shots taken from above or below may create disorienting perspectives or angles. Shooting from the same plane of view as the subject will result in a more immersive photo where the viewer is part of the scene.
Follow these simple tips and you will likely see marked improvement in your underwater imaging. Of course, there’s always more to learn, and ways to keep on improving. On your next visit to Wakatobi Resort, you can hone your own in-water imaging and post-production processing and editing skills by participating in seminars or scheduling some one-on-one instruction with Marco.
Download our Pro Photography Services brochure here, which lists photography coaching courses available to Wakatobi guests. All are hosted by our resident photo pro, Marco Fierli, and covers everything from the basics to advanced imaging and post-processing. a range of topics for those new to underwater photography to seasoned y program tailored to your specific requirements. one-on-one workshops and in-water sessions with Wakatobi’s resident photo pro, Marco Fierli. B
Ask your guest experience consultant about taking a pro photo course during your next visit or contact us at office@wakatobi.com. Have a look at this list of
See more of Marco’s imagery at marcof8.com.